Today’s theme is “Introduction to Raspberry Pi for New Users.” Welcome! This friendly guide helps you power on with confidence, try your first project, and join a community that loves making small computers do big, delightful things. Subscribe to follow along with beginner-friendly steps and stories.
Meet the Raspberry Pi: What It Is and Why It Matters
A tiny computer with big possibilities
Raspberry Pi is a credit‑card‑sized computer that plugs into a display and uses a microSD card for storage. It runs a full operating system, connects to the internet, and can power projects from learning Python to building a media center. It’s affordable, approachable, and surprisingly powerful.
Picking the right Raspberry Pi model for beginners
New users often start with Raspberry Pi 4 or Raspberry Pi 400 for strong performance and easy desktop use. Pi Zero 2 W is wonderfully tiny and efficient but better after you learn the basics. Choose based on availability, your budget, and whether you want a keyboard‑in‑a‑computer design like the Pi 400.
A quick story from a first boot
The first time I powered a Pi, the green activity LED blinked, the rainbow splash appeared, and the setup wizard greeted me like a patient teacher. That moment turned nerves into curiosity. Share your first‑boot story in the comments and tell us what surprised you most.
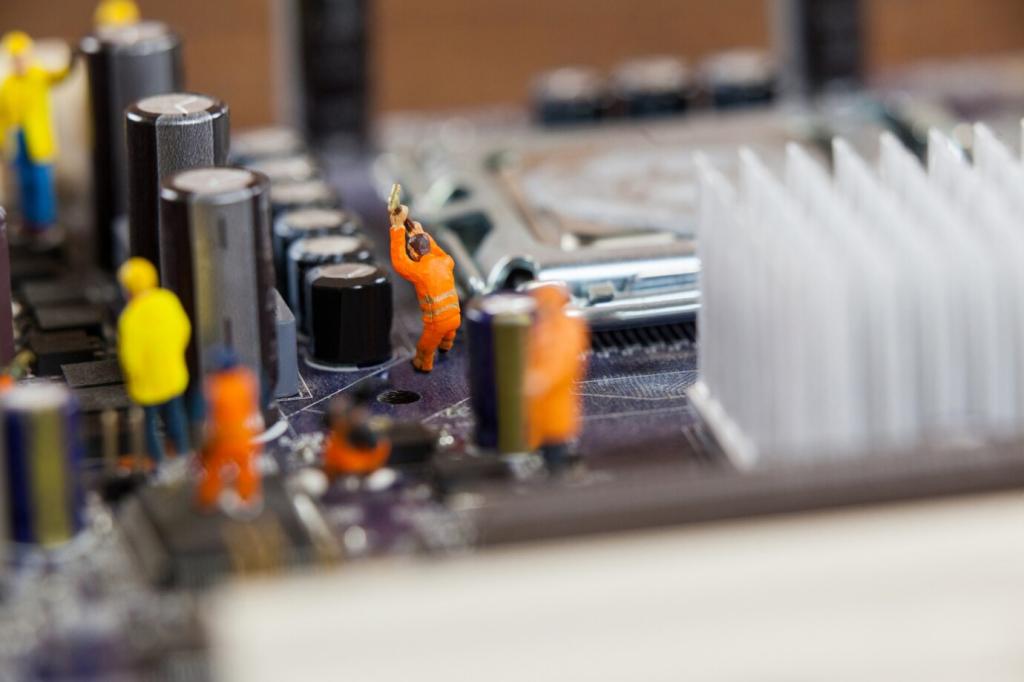
Gather a Raspberry Pi, a reliable 5V power supply (3A recommended for Pi 4), a microSD card (at least 16GB, A1 or A2 rated), HDMI cable or adapter, keyboard, mouse, and optionally a case and heatsinks. Clear a workspace, label your cables, and keep the microSD card in a safe, dust‑free spot.
Raspberry Pi OS is the most beginner‑friendly choice, with a clean desktop, helpful tools, and excellent documentation. You can install software using the Add/Remove Software tool or the terminal with apt. Updates are straightforward, the community is huge, and most tutorials assume this operating system from the start.
Understanding Raspberry Pi OS and Alternatives
Ubuntu can feel familiar if you know Linux desktops. LibreELEC excels for media centers like Kodi. Twister OS offers a playful, theme‑rich environment. These are great to explore after you’re comfortable with the basics. Share which path fits your goals, and we’ll craft a beginner‑friendly plan together.
Connecting Peripherals and Solving Common Setup Hiccups
Use the official 5V power supply when possible; undervoltage causes glitches. Raspberry Pi 4 uses micro HDMI ports, so an adapter or proper cable is essential. If your display looks wrong, check resolution settings or edit config options. Tidy cable management reduces strain and keeps your workspace enjoyable.
Gather one LED, a 330‑ohm resistor, two jumper wires, and a small breadboard. Connect the LED’s longer leg through the resistor to a safe GPIO pin, and the shorter leg to ground. Remember: Raspberry Pi GPIO is 3.3V only. Double‑check orientation before power on, and ask questions if you get stuck.
Next Steps: Projects, Community, and Learning Habits
Try a weather dashboard, a network‑wide ad blocker, or a time‑lapse camera with the official module. Keep scope small, celebrate each success, and write down what you learn. When you’re ready, explore media centers or retro gaming. Tell us which project you’ll start this week, and we’ll cheer you on.